summer is almost over, and as I was cleaning through my drawers i realized i had a bunch of jewelry i never wore. since i’m always in a big rush most mornings i never have the time to look through my jewelry box to find something to add a little personality to my outfit. all my jewelry is always tangled and hidden in a drawer so it makes it so much harder for me to pick something out when i’m in a rush. so if you’re looking for a cute and simple way to sort out your jewelry, you have come to the right place. i’m about to show you how to make your very own tree branch jewelry holder. so lets get to the tutorial, shall we?
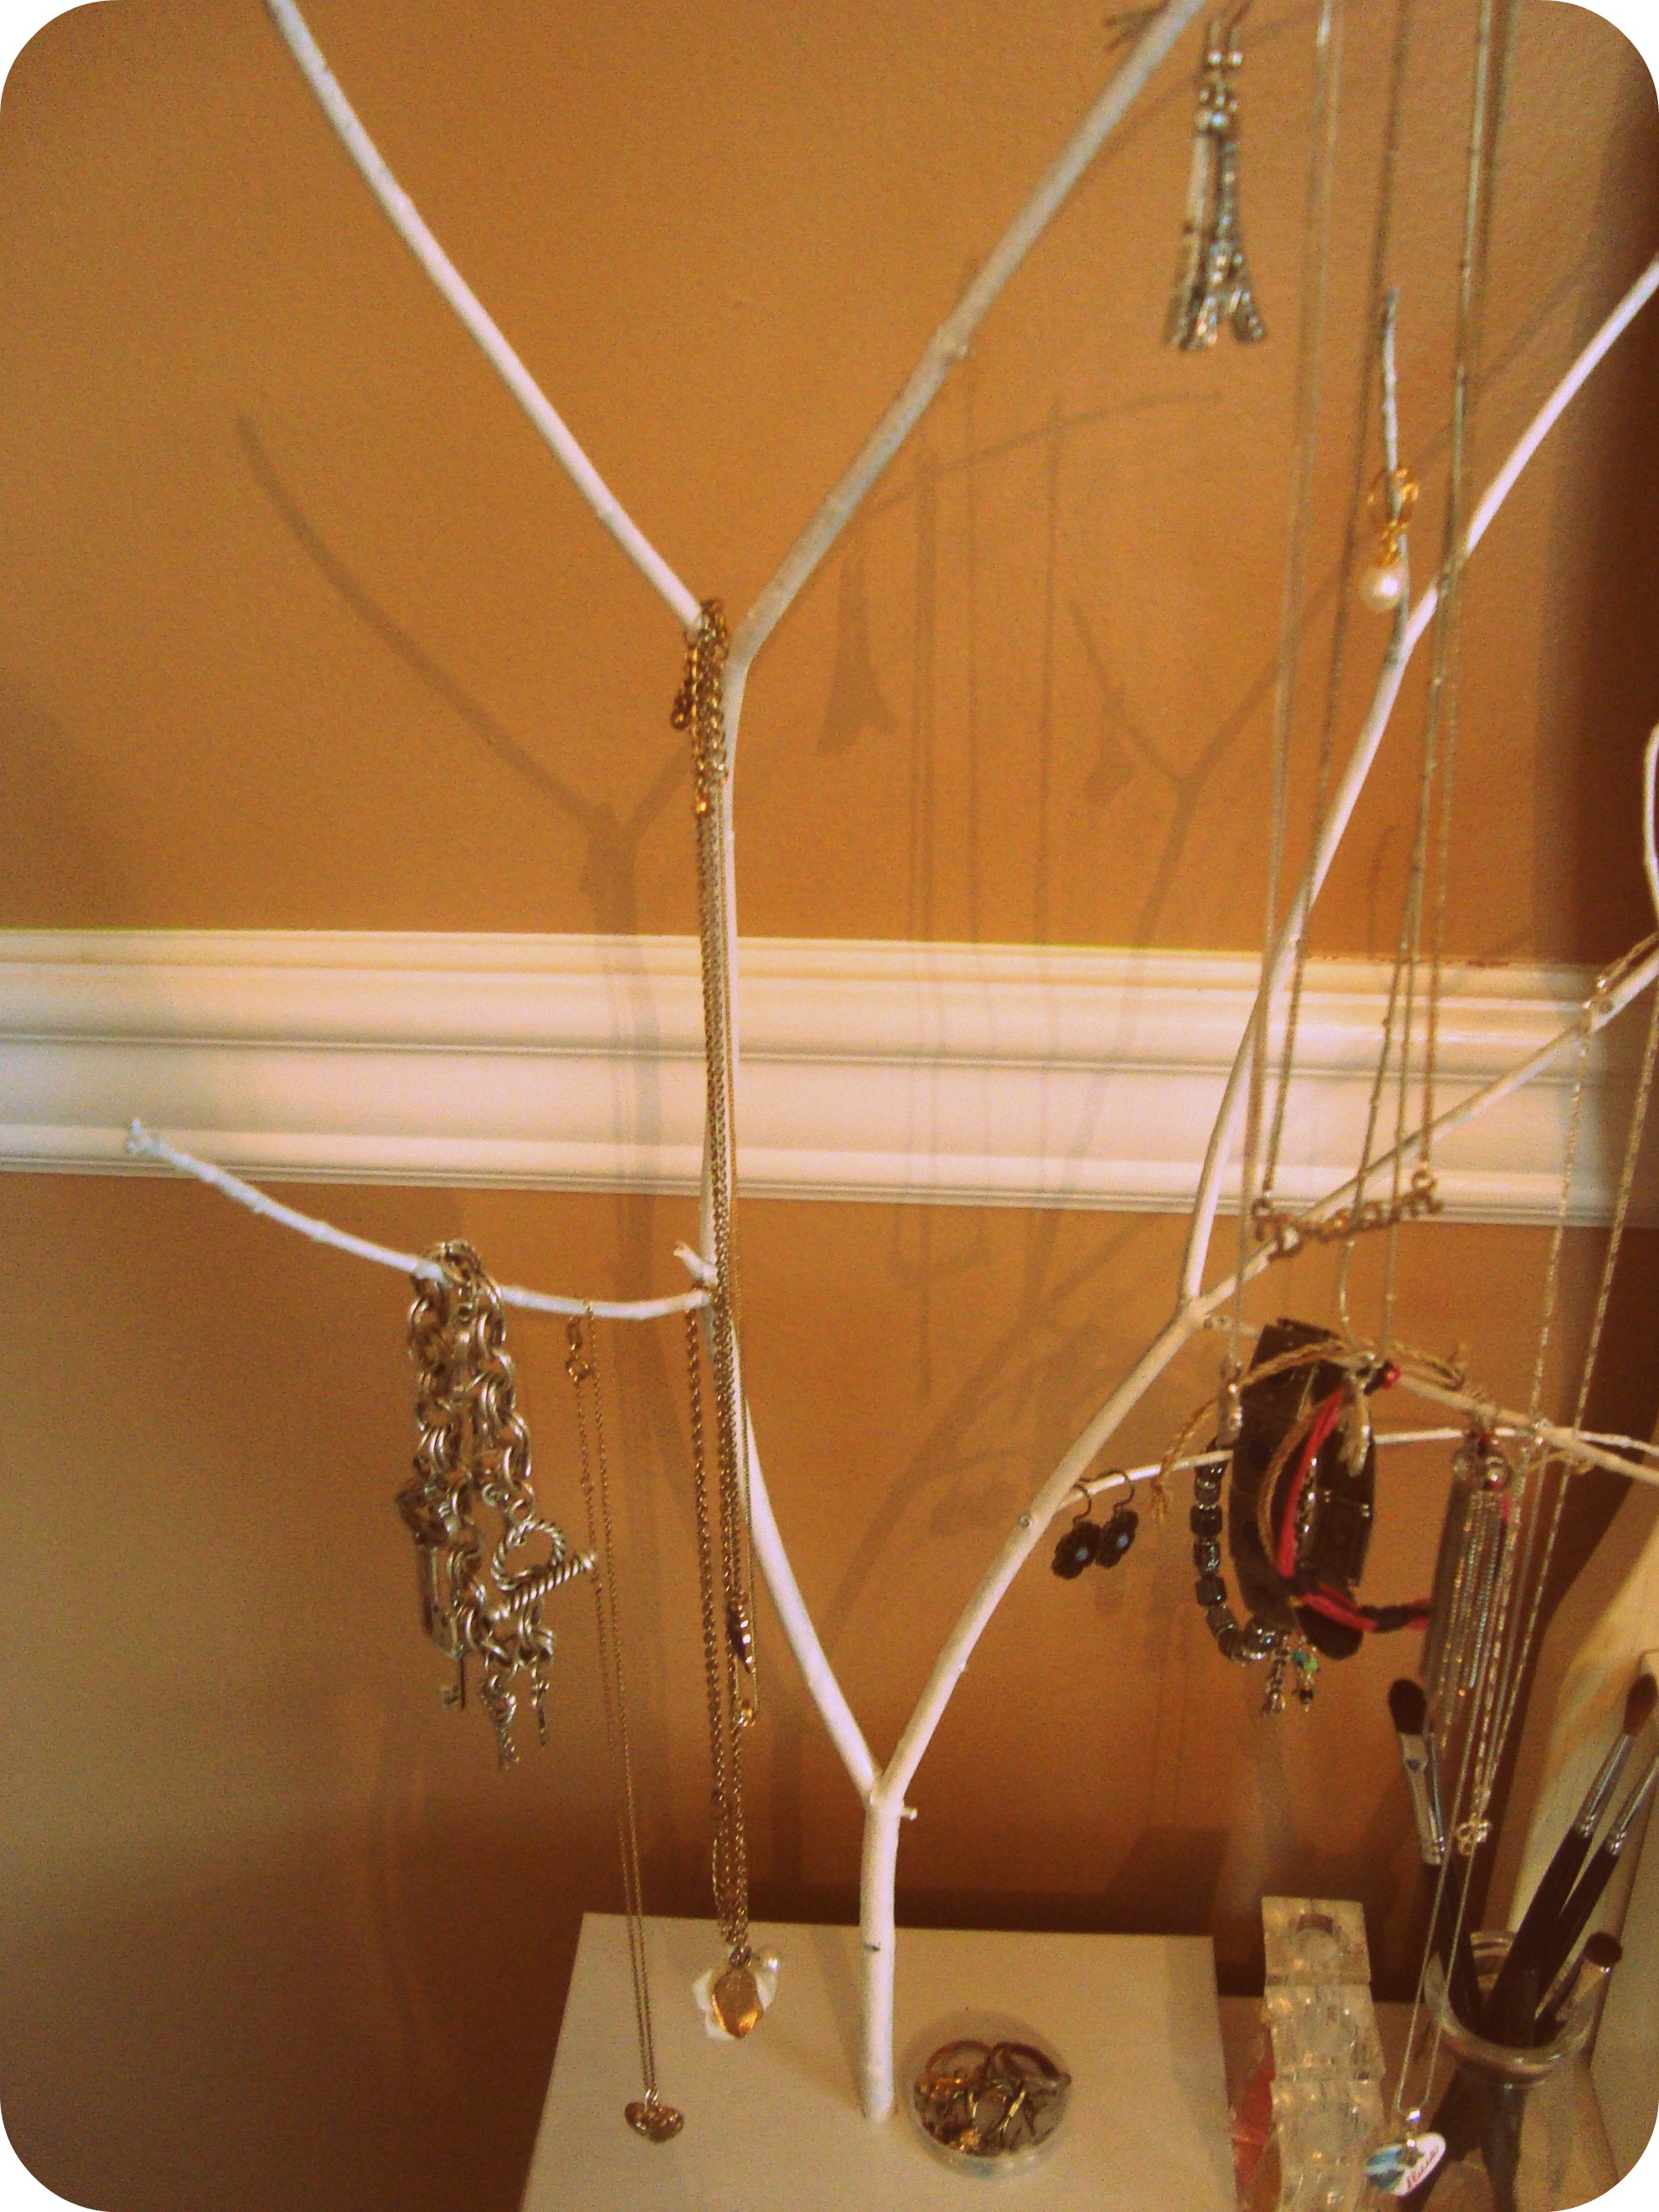
this is the final product, and as you can see i piled so much stuff onto the poor branch, but it’s still holding up well and looks charming. i also used the bottle cap of a pudding jar (the jar is now used for my makeup brushes) i finished to hold my rings and stud earrings. there are SO many possibilities with this, so don’t think you should stick to my way.
now let’s get to the materials:
- a sturdy tree branch
- spray paint in any color desired
- a small box (used to make the base)

- styrofoam (used to fill the inside of the box)

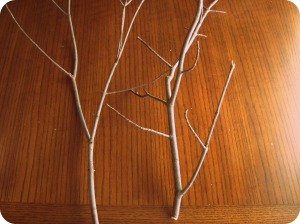

so i got my spray paint from Lowes for one US dollar, but any hardware store has spray paint. the tree branches are fun to pick out, since there are so many different shapes to find. i chose to stick with the tall ones.
the styrofoam and box was my way of making the base, but there are so many different things you can do instead. you can try sculpting it out of air dry clay, or even wood. you can drop it in a nice vase. get creative with it! maybe you don’t even want a base. you can hang up the tree branch on your wall instead.
so let’s get to the steps
step 1:
spray paint your tree branches.
i chose to spray paint mine white, because it’s a nice touch to my coffee colored walls. go wild with this. throw some glitter on the branches. that would be pretty neat. i assume that you’re smart enough to know that all spray painting should be done outside. also, when looking for a good spray can make sure that it works well on wood (it should say so on the container). you don’t want to pick the wrong can!
step 2:
if you’re using a box as a base, mark the center of the box & poke a hole through it using scissors or a knife
feel free to eyeball it if you’re feeling confident. that’s what i ended up doing (mainly because i’m so impatient)
step 3:
after the paint on your tree branch has dried, stick it through the opening in the box. 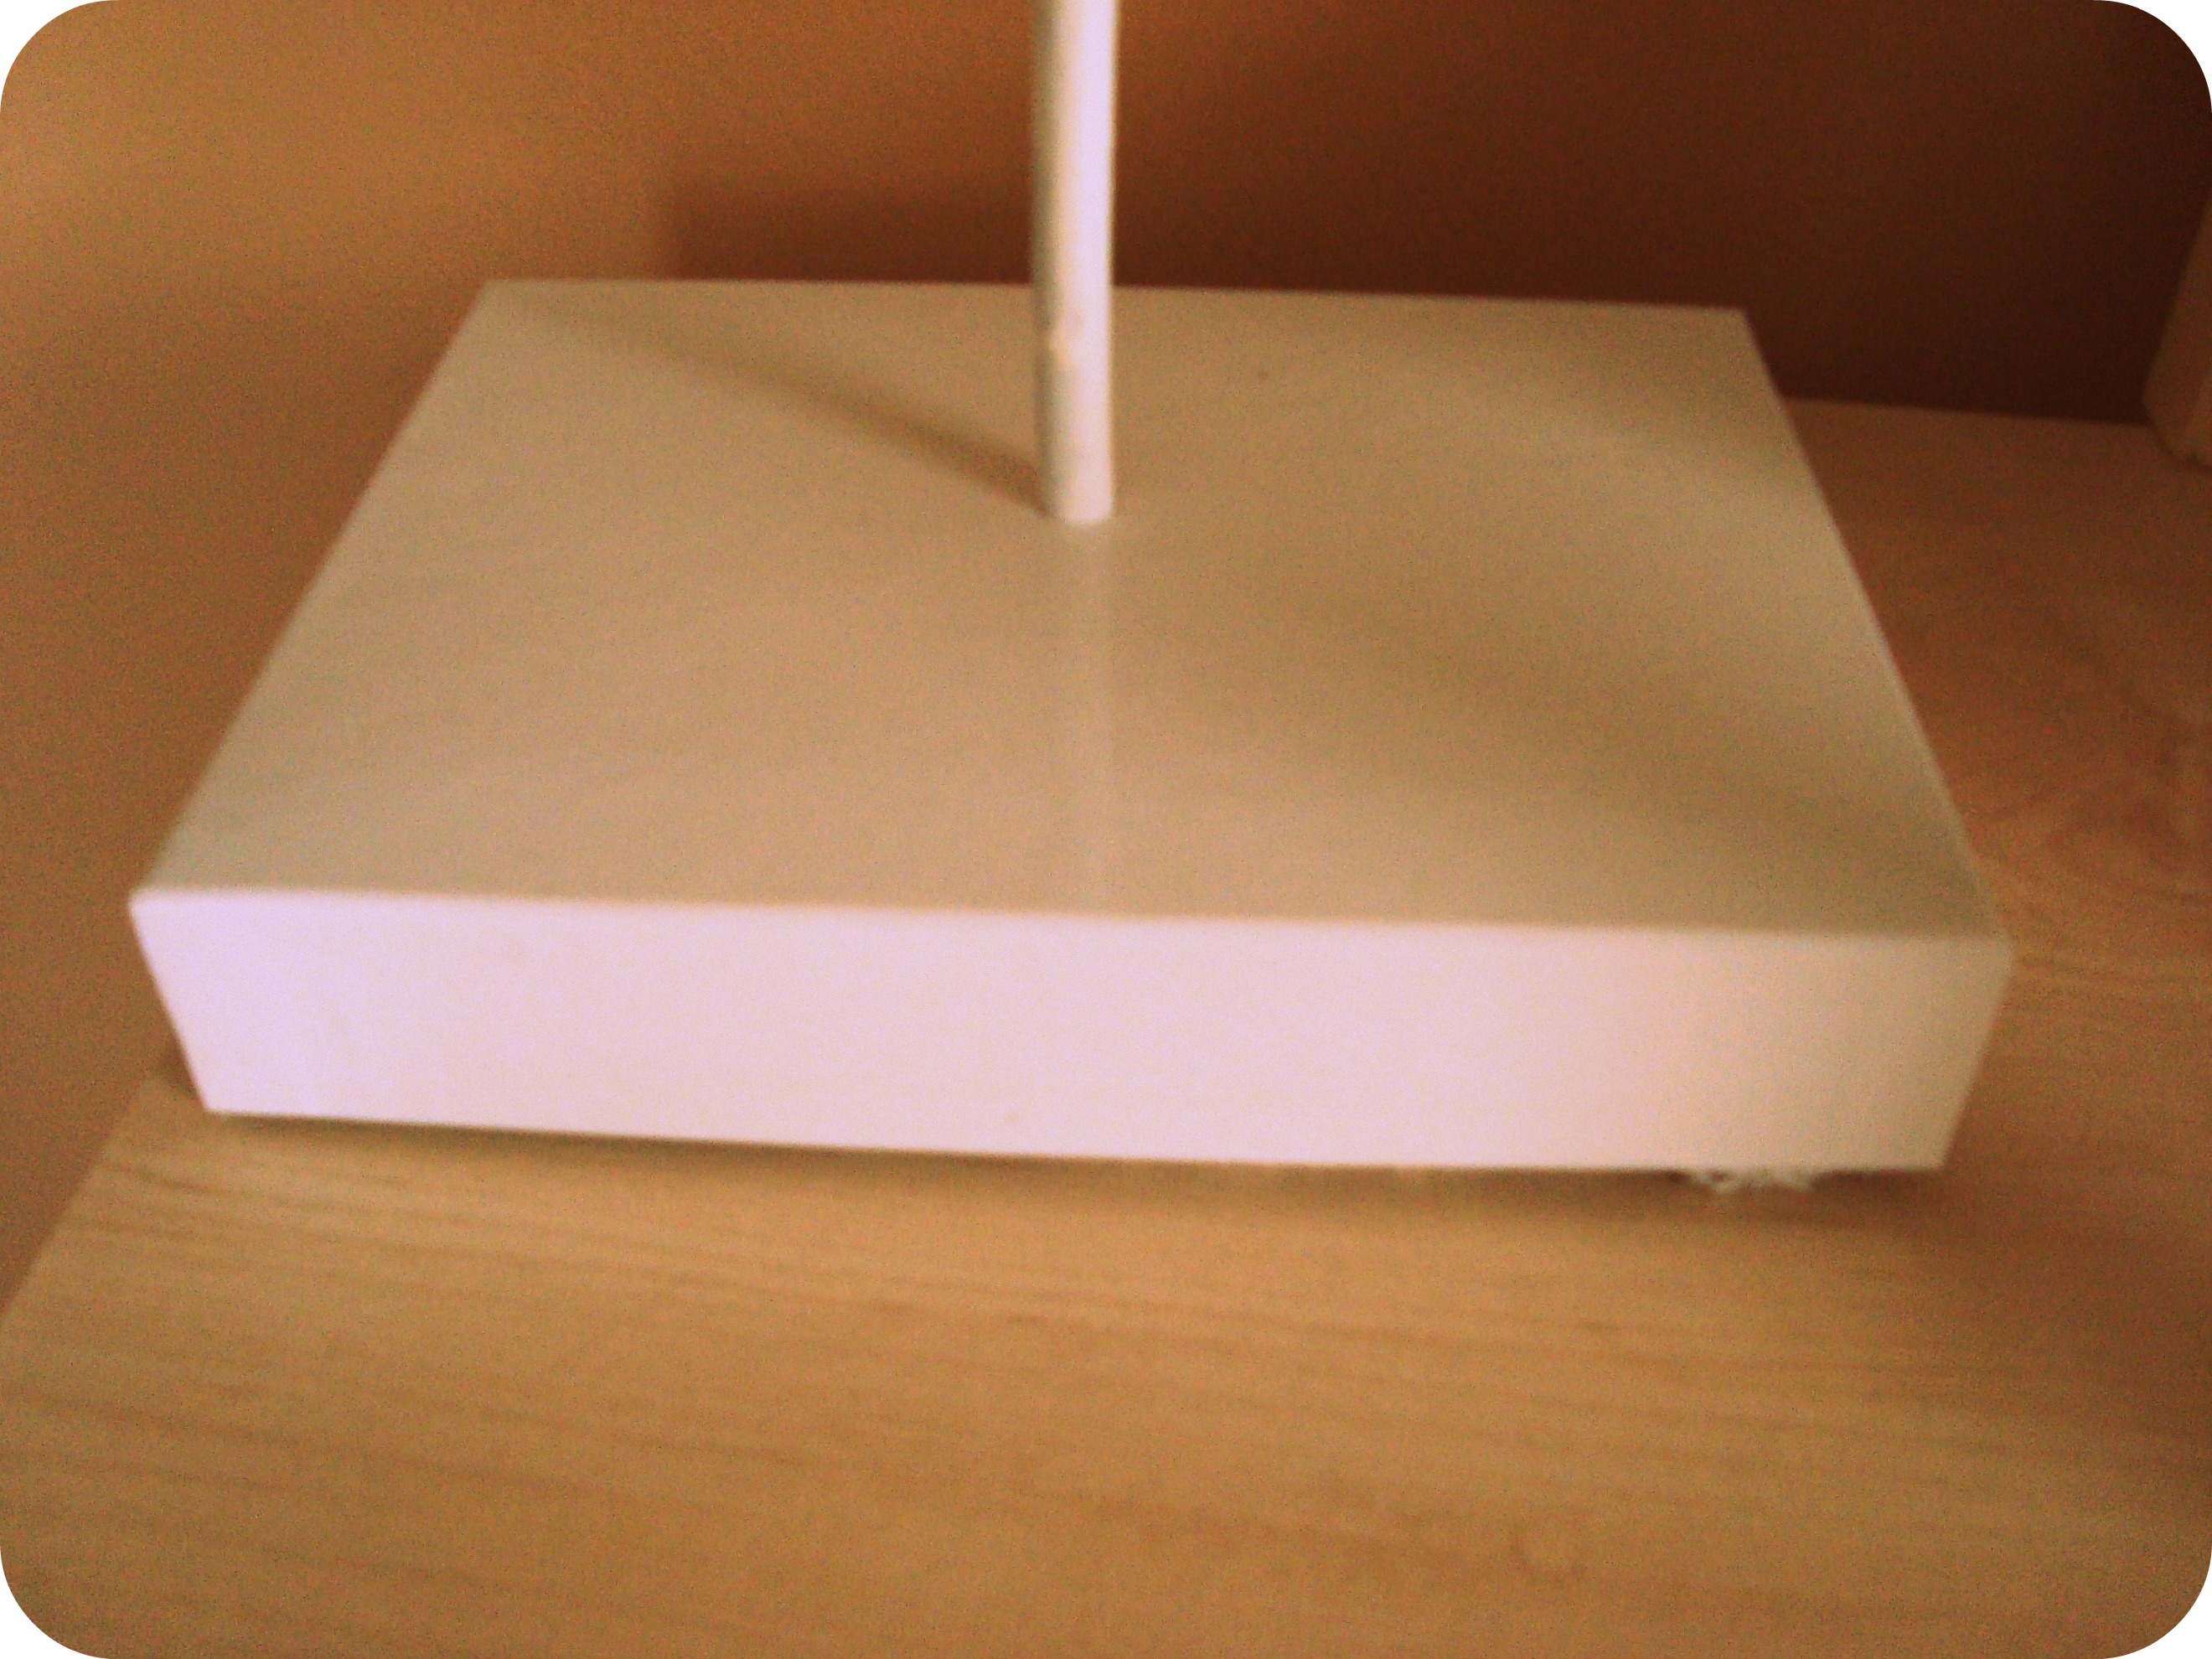
at this point you can use some glue to secure the tree in place if you made the hole too big. mine fit in perfectly, so i didn’t need to add any glue. sometimes the box will be sturdy enough to hold the branch and the jewelry you put on it, so you can skip the styrofoam step. i put it in to make it sturdier and to keep the branch from swaying on the inside by having something else to stick into.
step 4:
add the styrofoam and stick the tree branch securely into it.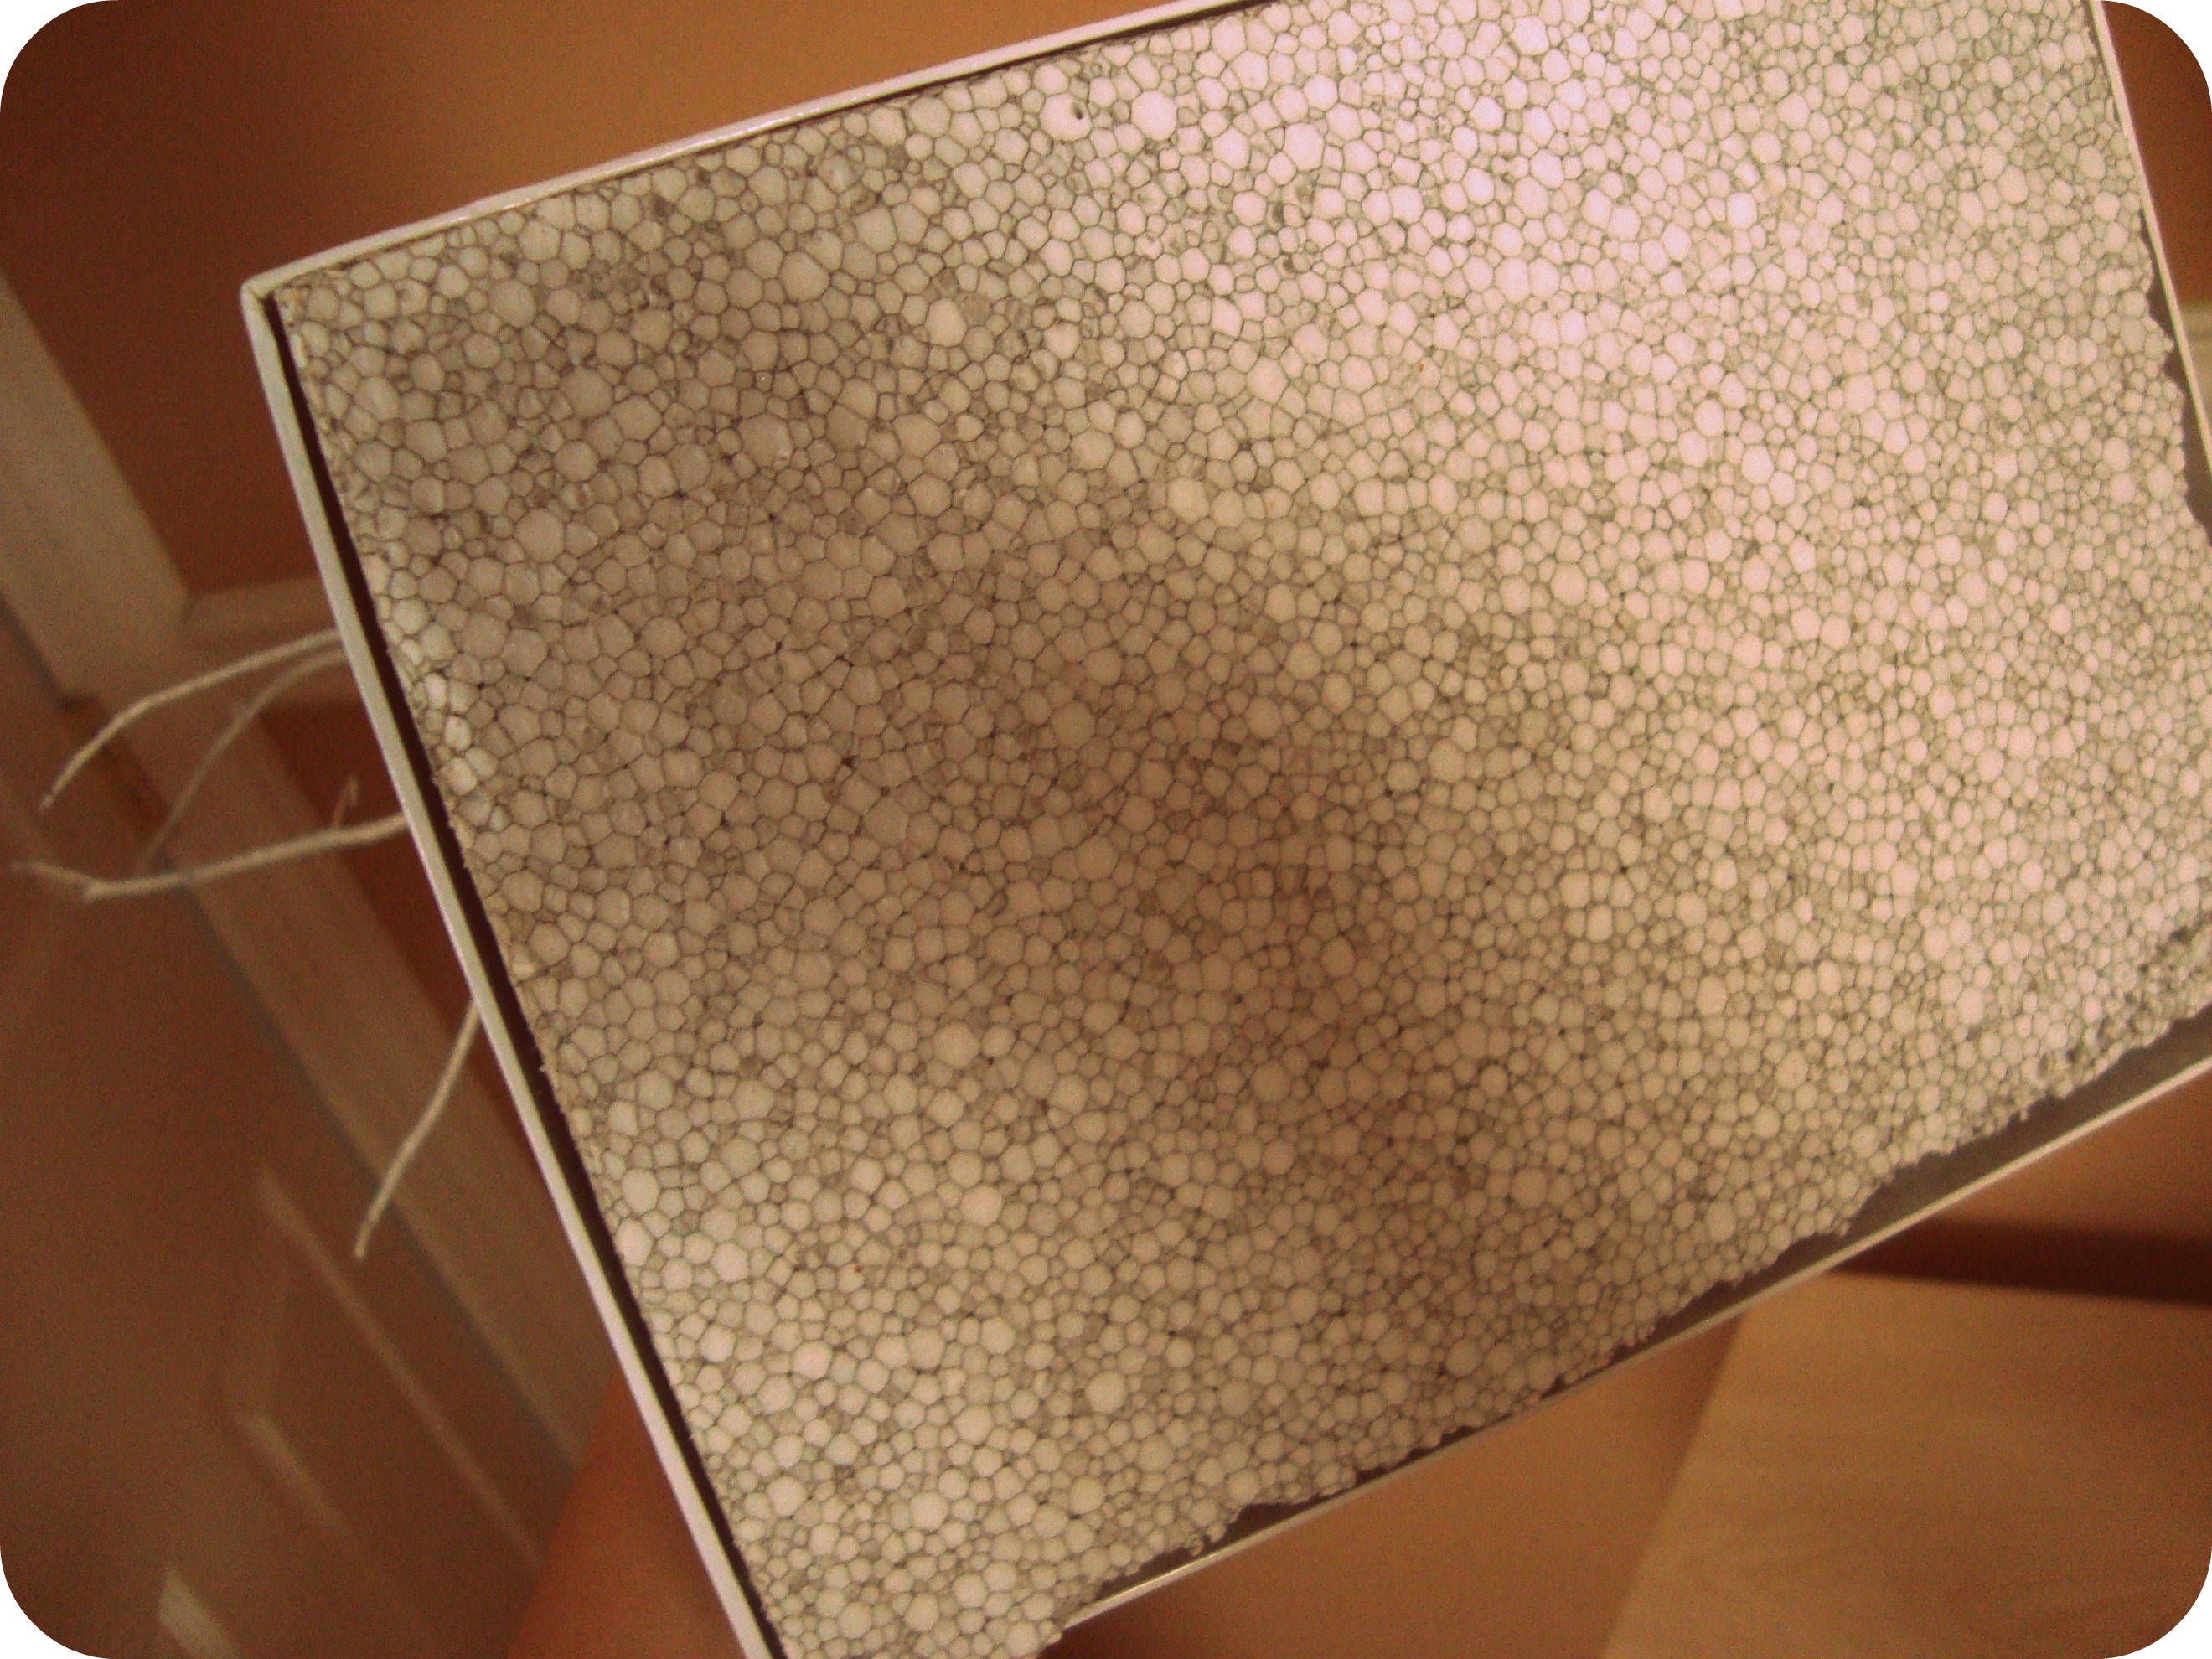
if for some reason your tree branch is too heavy for the base, you can try to fill it up with something that weighs more, like clay. or just opt to picking a smaller branch.
step 5:
at this point you should have a finished product that looks like this: 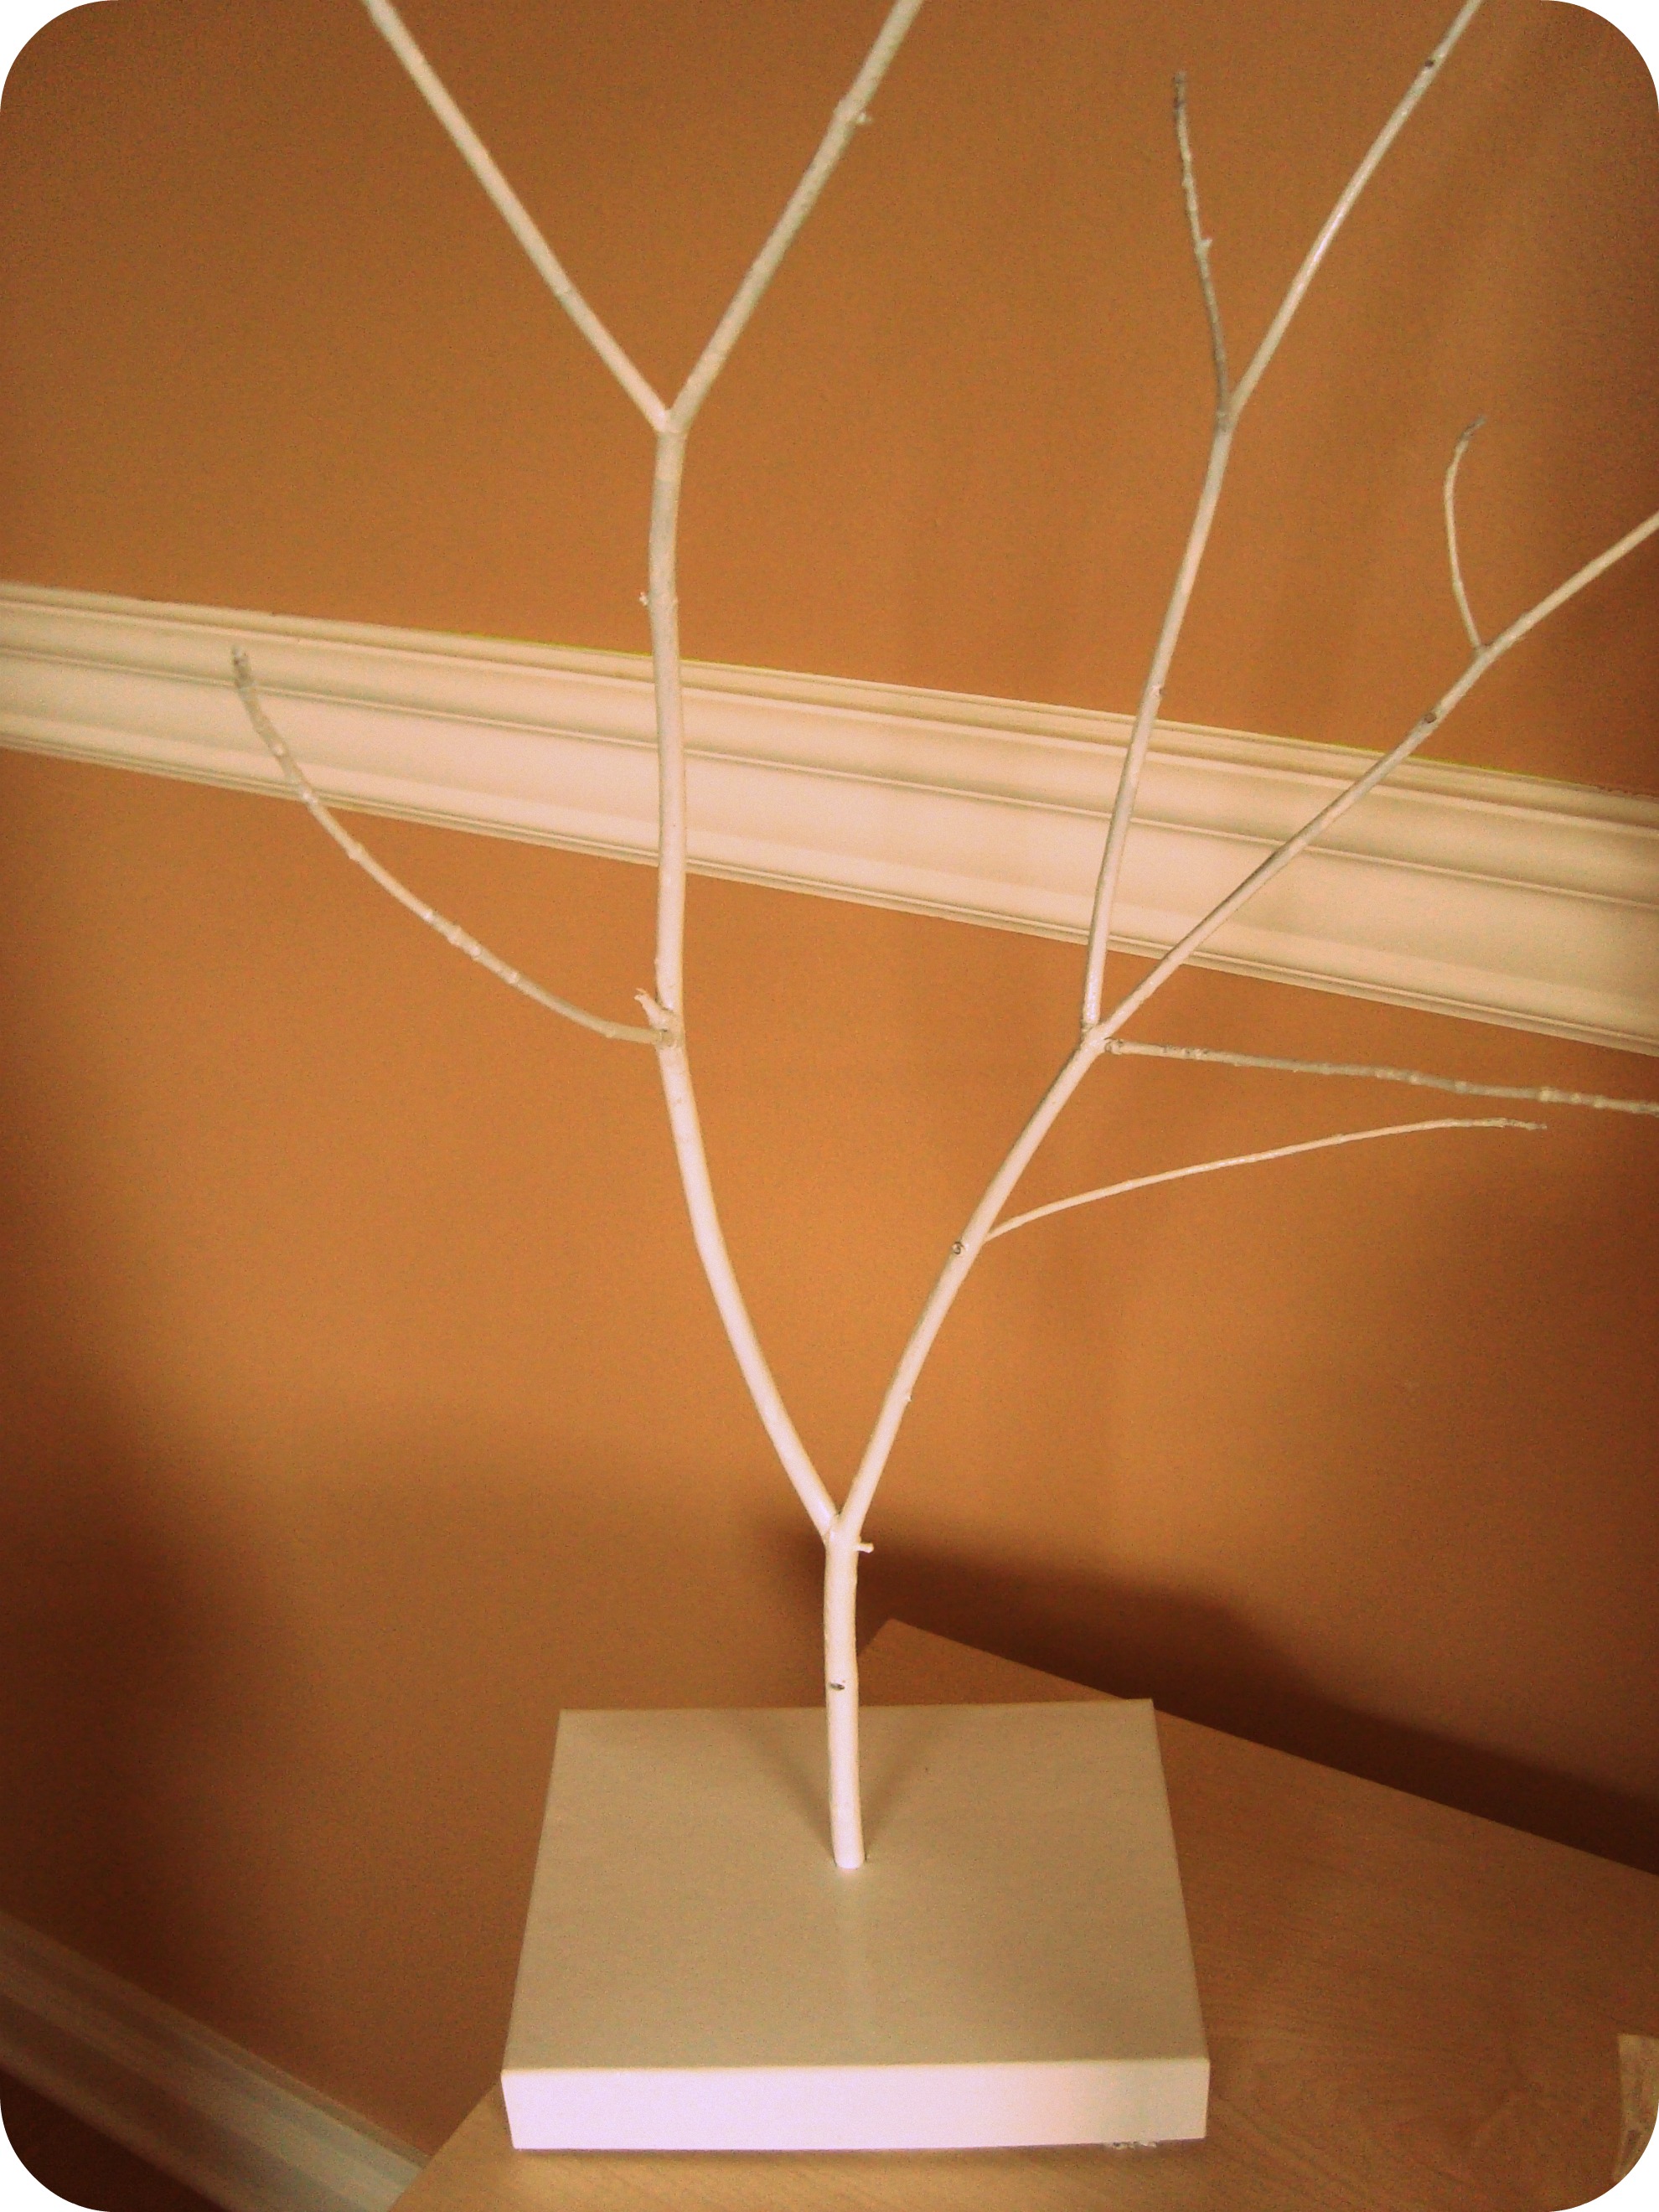
so all that’s left is to add on the jewelry.
i hope you enjoyed this easy craft & hopefully it inspires you to find new ways to organize your jewelry. 
thanks so much for reading & if you have any questions feel free to ask below.
xoxo
Holly


Great idea! Love it.
thank you! 🙂